

Google Cloud VM: Linux & Ubuntu setup


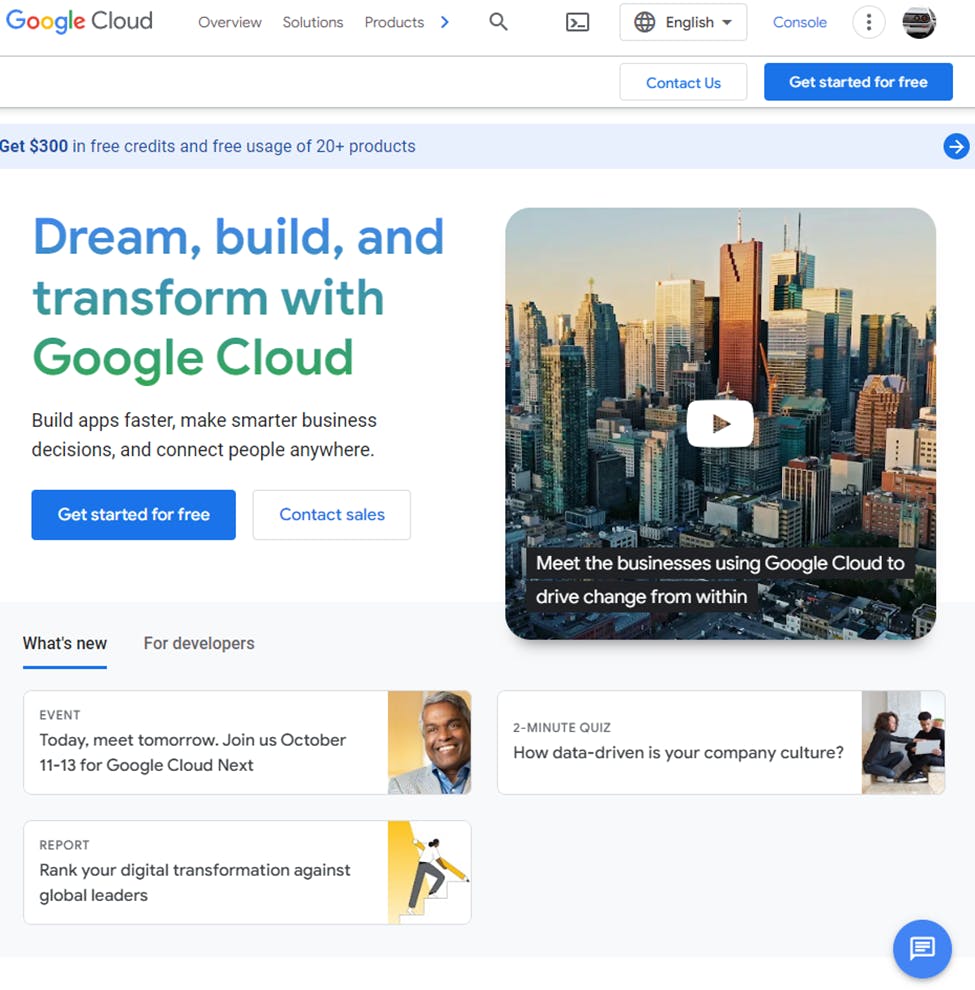
First head over to:
https://cloud.google.com/
Want another method?
Already have an account? Skip ahead!
Select Get started for free
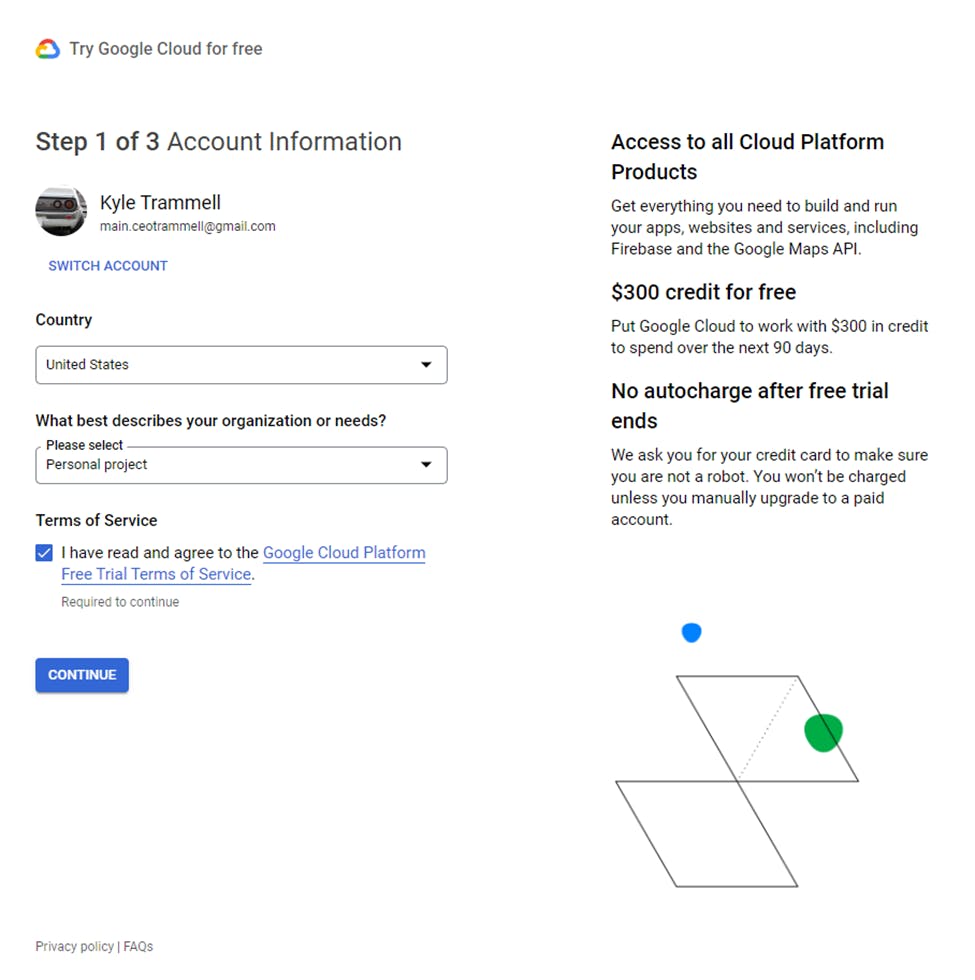
We are going to select Personal project in this demo, you can change it if you wish. Agree to terms and select continue.
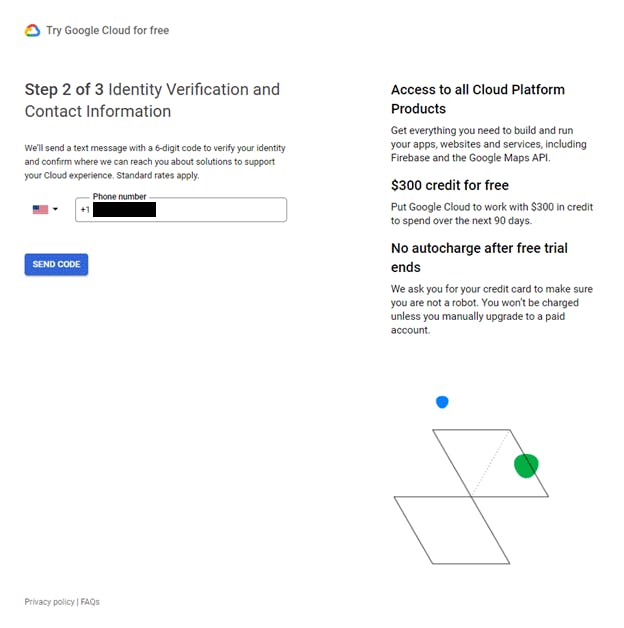
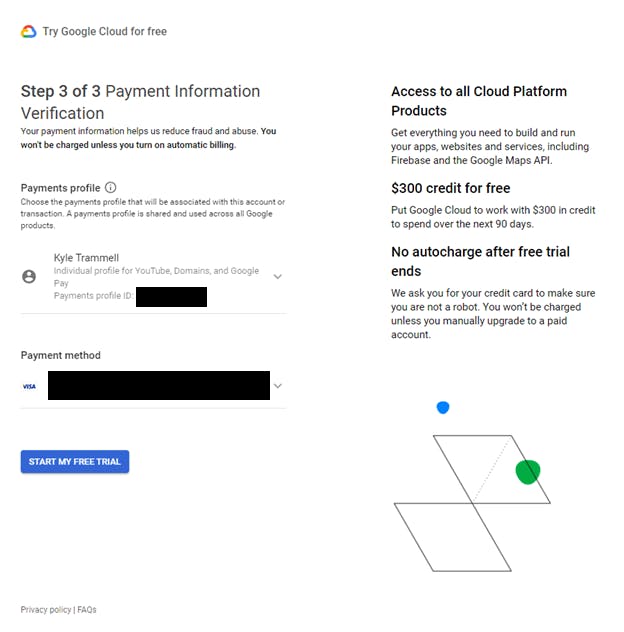
The last steps, you will need to prove you are a human via a text or phone call. You will also need to provide a payment method.
Google states that the trial status contains 300 USD credit and 90 days. Please monitor this. I am not held liable for any overages that you may create. Please be responsible.
Once done with account setup, it will route you to the Google Cloud overview. Close any pops and do not select the popup try these options.
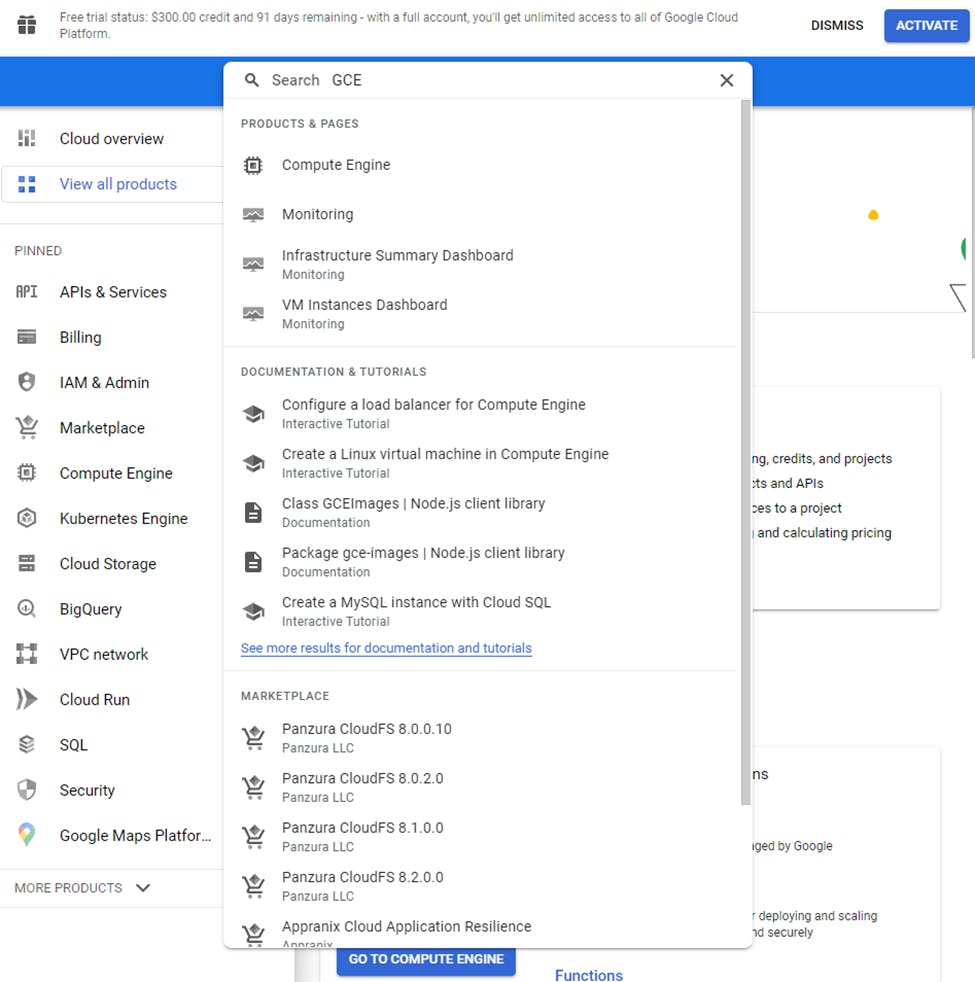
If you skipped ahead, you will continue with using the search bar as stated below.Use the search bar and type in GCE (Google Cloud Engine). Then select Compute Engine.
Enable this API. May take some time, just give it a few minutes if so. Worse case after five to ten minutes, it is safe to refresh the page and try again.
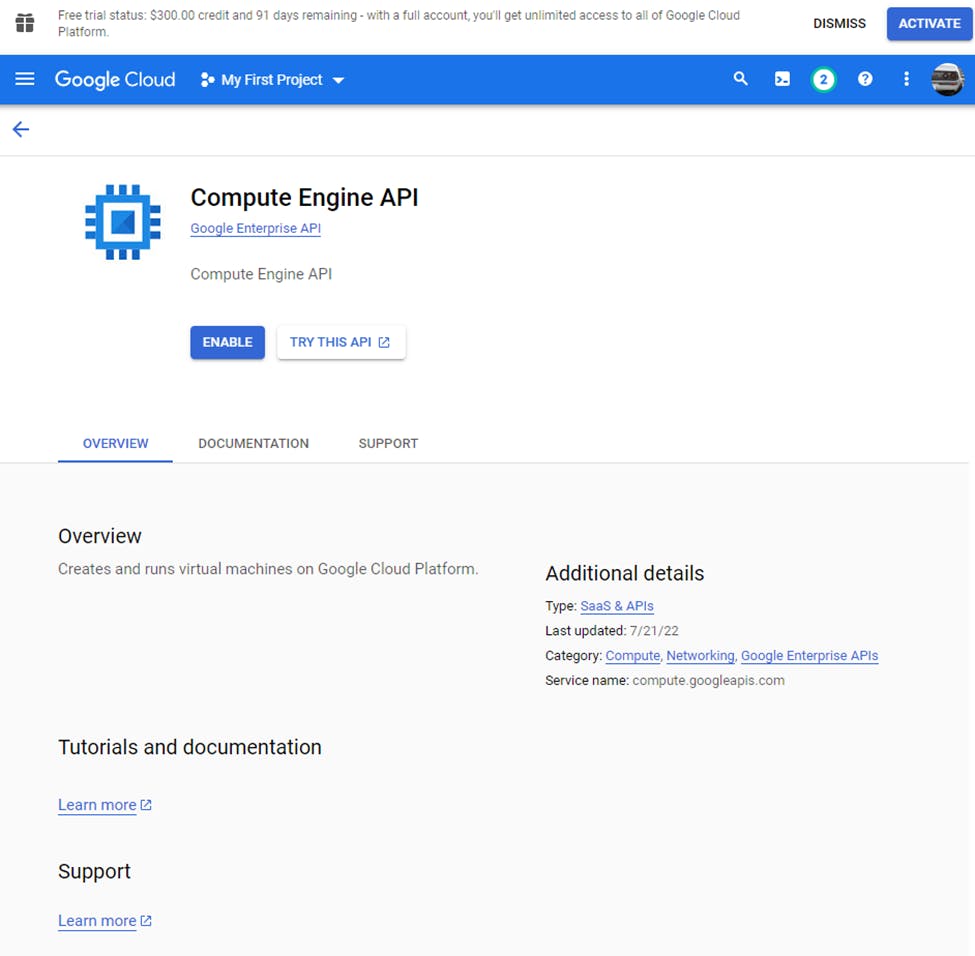
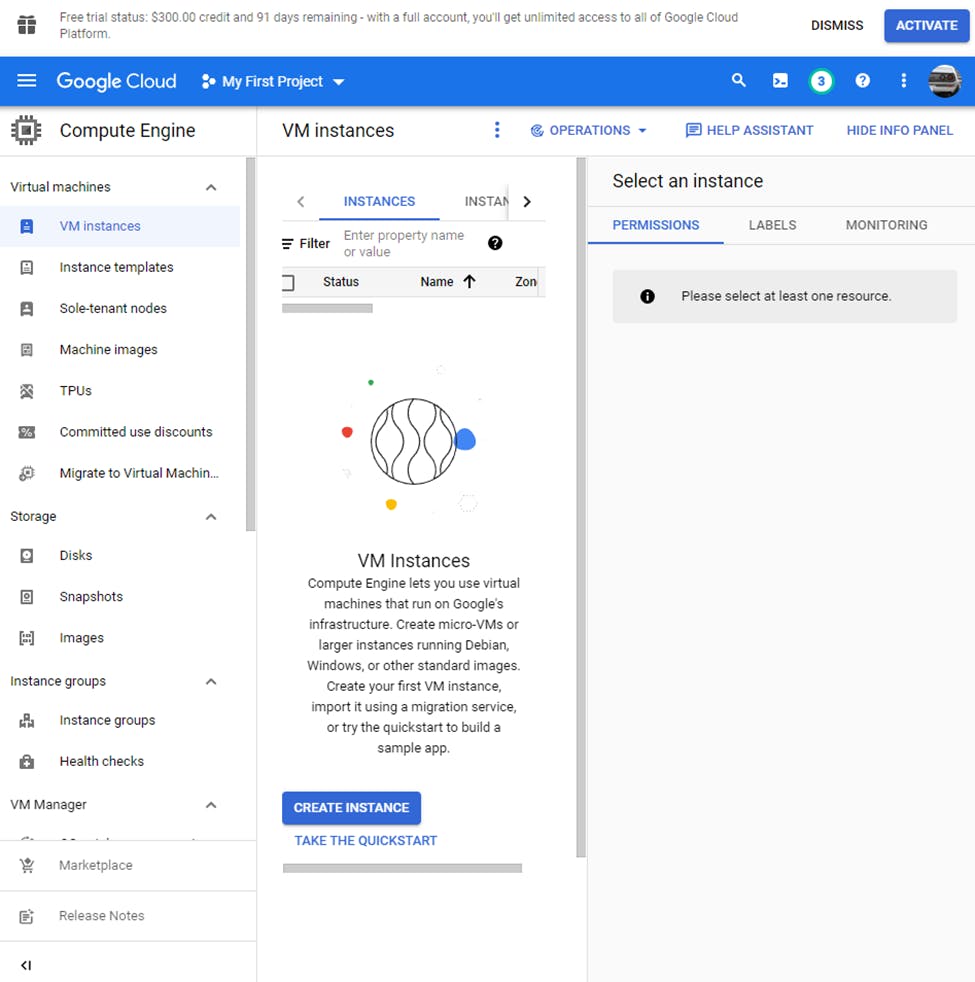
Once done, you will be automatically redirected to the below image
We are going to leave mostly everything on screen the same except a few things. You can name it however you like and choose any region. I chose eastern.
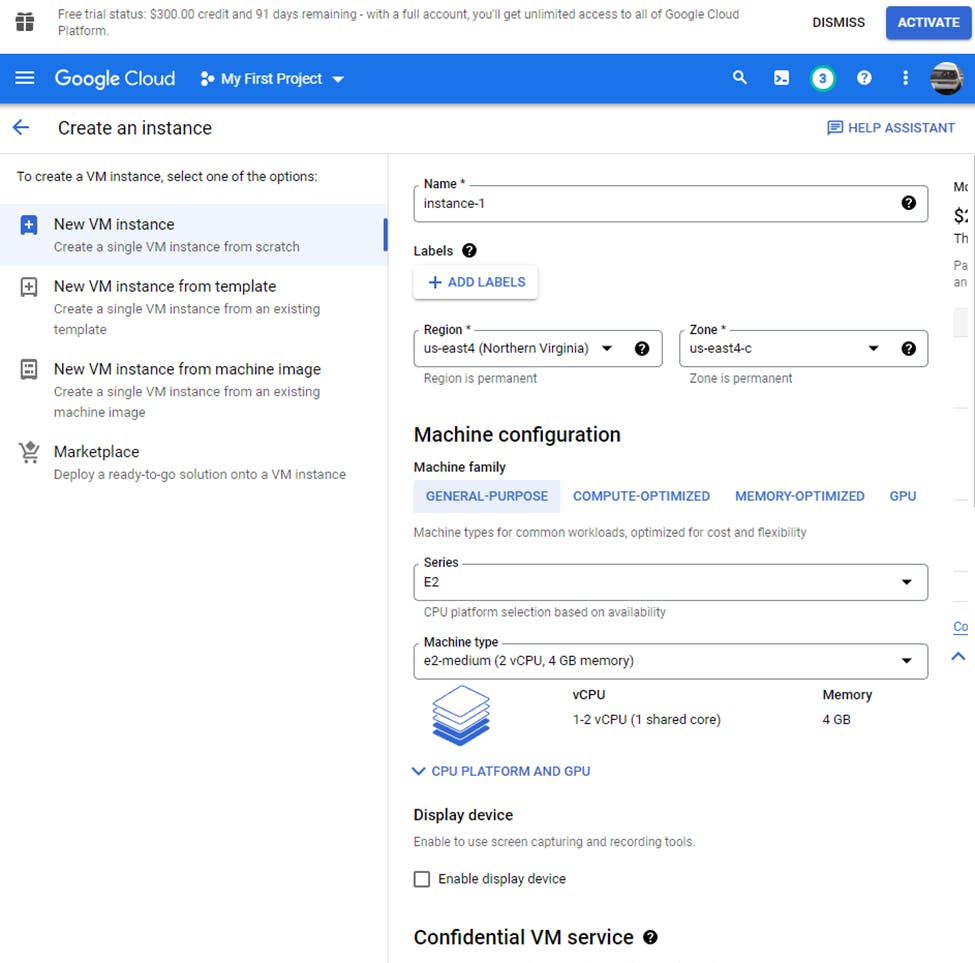
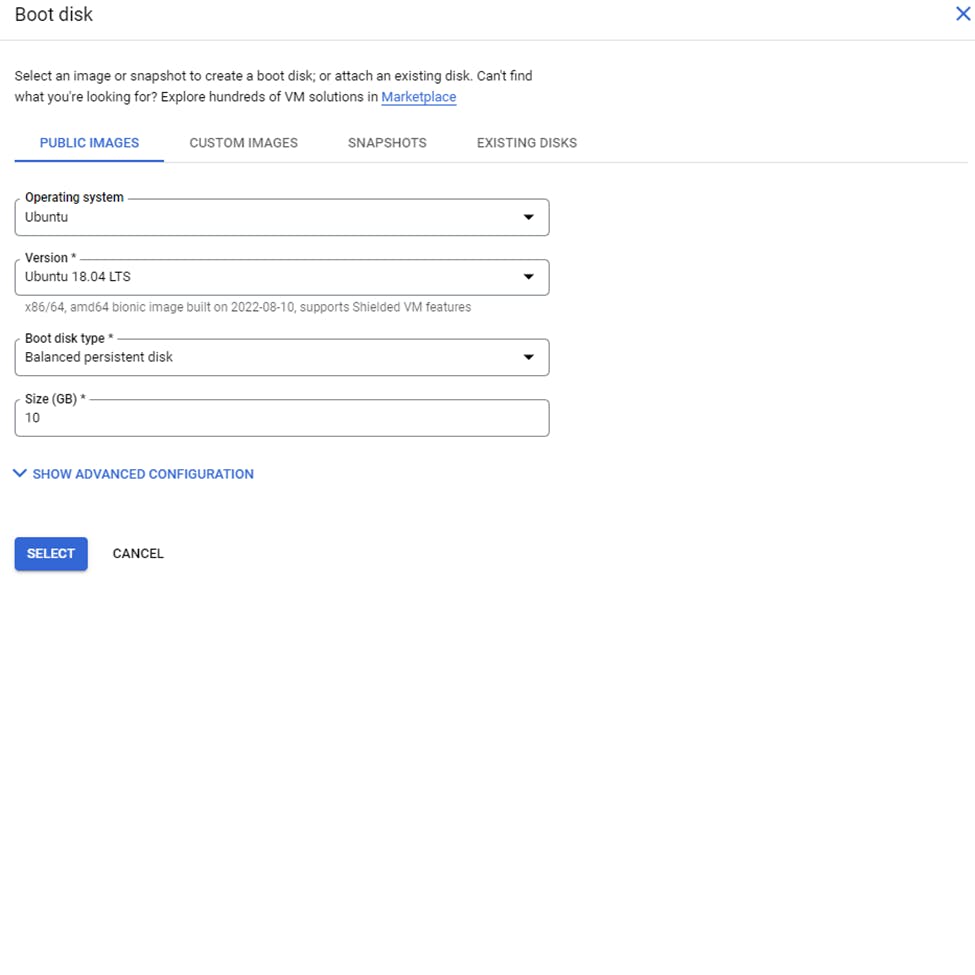
- Scroll down and select Change on boot disk.
- From the Operating system drop down, select Ubuntu.
- From the Version drop down, select Ubuntu 18.04 LTS. (you may select another Ubuntu if you like.)
- Make sure it is x86/64 and NOT Arm64, so that there are no support complaints.
- Then press Select.
This will take you back to the create page. Scroll down and select:
- Allow HTTP traffic
- Allow HTTPS traffic
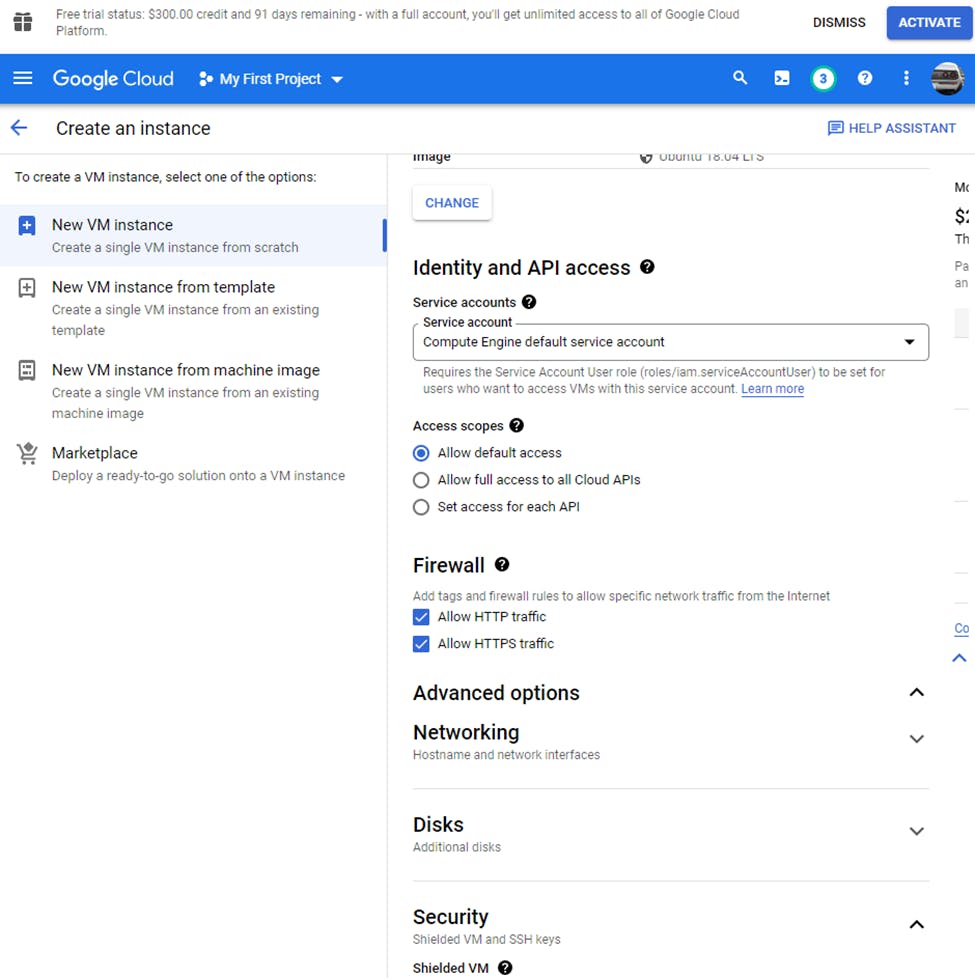
Then scroll to the very bottom and select Create to finalize everything!
You should now be back at the Instances screen. You will see a row with your new instance. Go ahead and click it to open all the details.
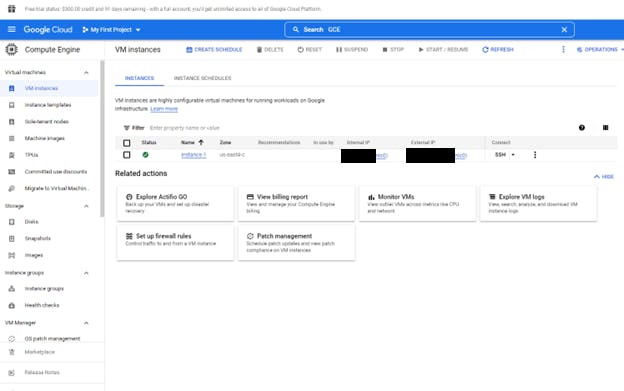
There are two ways I am going to cover SSH
- Google SSH-in-browser
- Command Prompt/Terminal/Shell
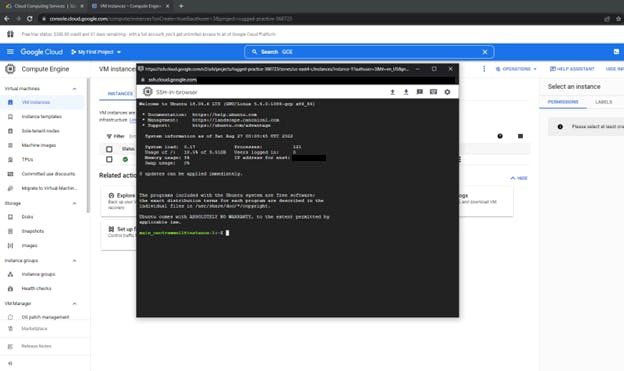
Google SSH-in-browser:
Simply click the SSH dropdown menu and select open in browser window. Give it a few moments to load. Now you are done and in the console and that is all you need to do. You are done! Congrats! 🤘
Command Prompt/Terminal/Shell:
Wanting to push the limits I see? I like your style! Lets get to it!
So, Google Cloud takes public key prior when creating a VM instance while using the Compute Engine service.
We must create a SSH (secure shell) key that Google will use. This is a different method than per say using a .pem (Privacy Enhanced Mail) file.
To generate a SSH key and access our VM outside of Google Cloud, we are going to utilize PuTTY and PuTTYgen. (They area free utility used for SSH, telnet and key generations) Yes, PuTTY works on Unix based systems.
Go to the below link to download puttygen as well as putty. The below link will redirect you outside of hashnode, you accept full responsibility if you do so. If you do not accept downloading PuTTY, please do research and find another method that you feel comfortable with.
That being said, download puttygen and putty.
https://www.chiark.greenend.org.uk/~sgtatham/putty/latest.html
64-bit x86 versions of both are fine unless your computer declares otherwise. Behind the Google Shell in browser on the main google engine page, we will be referencing the External IP which will be needed in Putty in a few more steps. Do keep this in mind for now.

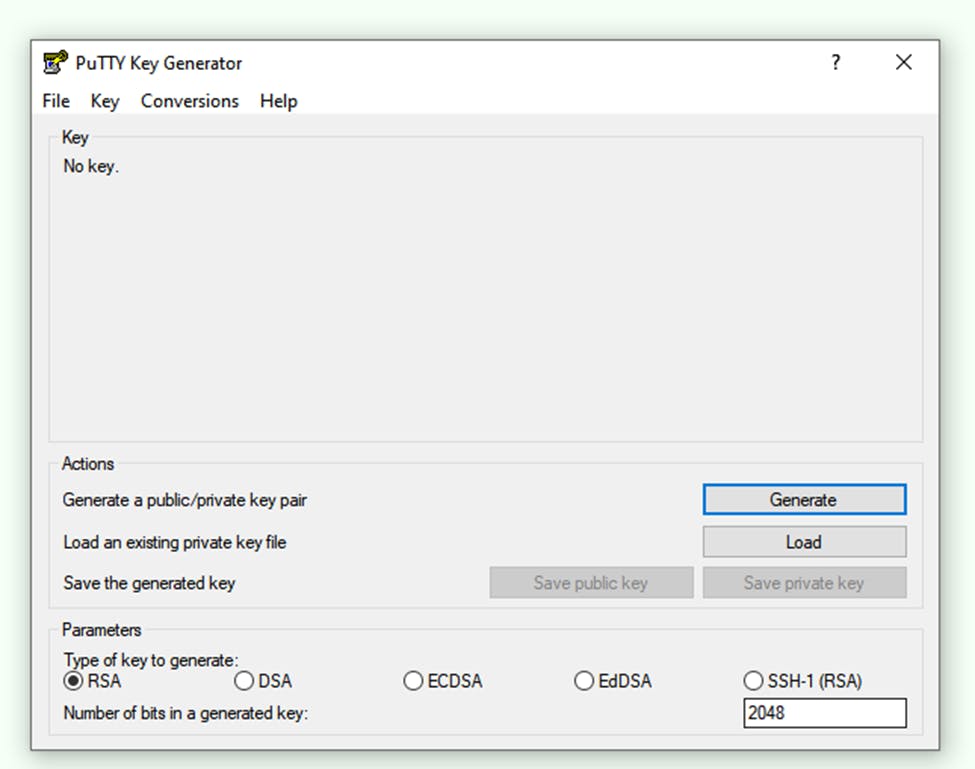
Once you have both putty and putty key generator downloaded, open putty key generator first and select generate and begin to move your mouse around in the grey area. This creates a random key through mouse motion. Pretty neat huh?
Afterwards, you will have a public key pair text box. Go ahead and put a key comment of your username. If you do not know your username, open back up the google shell in browser and you will see it before the @ sign in the most bottom line where the cursor is.
Next, select Save private key and save it somewhere where it will not get deleted. In my example I saved it to
C:/Users/MYUSERACCOUNT/Documents/Keys/CLEVERNAME.ppk
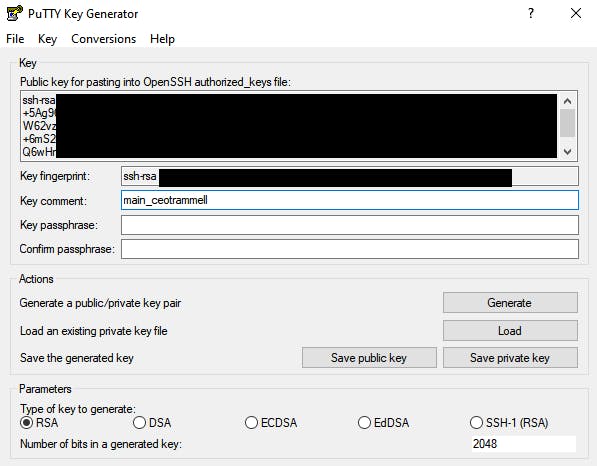
Once that is all done, use your cursor to highlight so we can copy and paste the Public key. Example should be:
ssh-rsa abc123 YOURUSERNAME
(abc123 is not a realistic key, it will be much longer)
If for some reason, there is no username pasted, just type your ssh username I mentioned earlier after the key like in my example above.
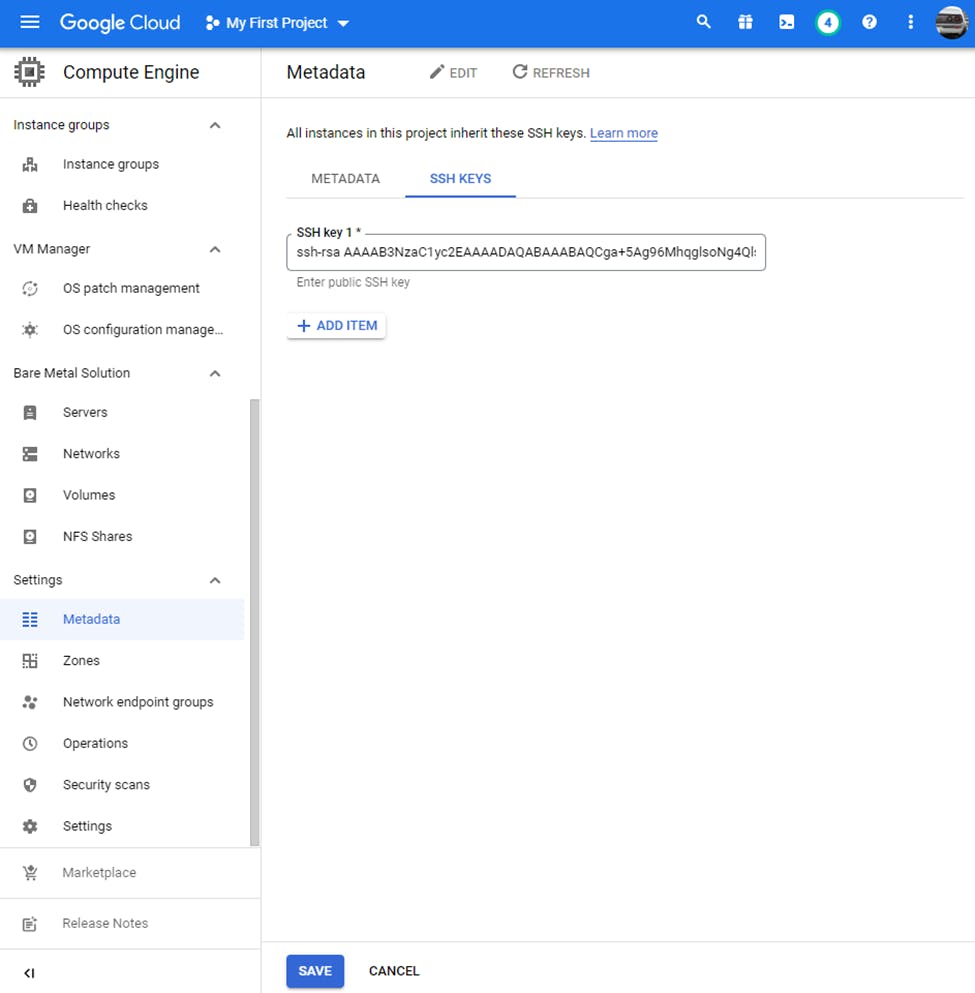
Head back over to the google virtual machine page. On the left side of the page, scroll down and select Metadata.
You will see two options up top. Go ahead and select SSH Keys.
Then select Add Item and paste your public key pair.
Then press Save. You are now done with the key pair setup.
Now for the fun part of connecting and make it all work!
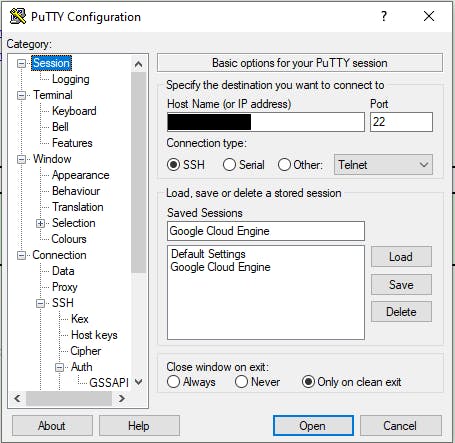
Open the putty program and under the session screen like displayed below, paste in your ip address that I mentioned earlier that is on the google cloud page (under the VM Instances side bar section). Make sure it is the External IP.
Now type some glorious name in the Saved Sessions box and press save.
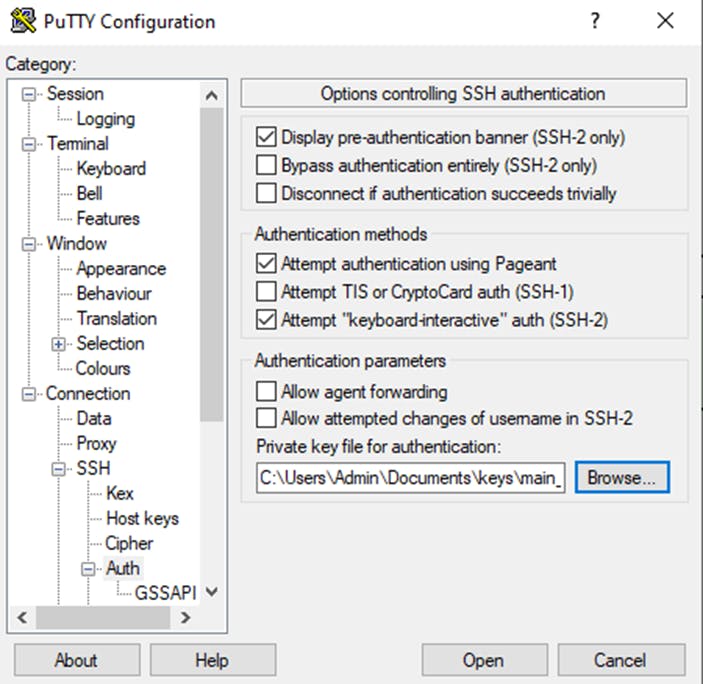
Then on the left side, scroll down and map to:
Connection -> SSH -> Auth -> Select Auth
Inside Auth, select Browser.
Look for your CLEVERNAME.ppk file that you saved earlier and add it. Do not press Open yet. Go back to the Session area by selection Session up top in the left scroll bar.
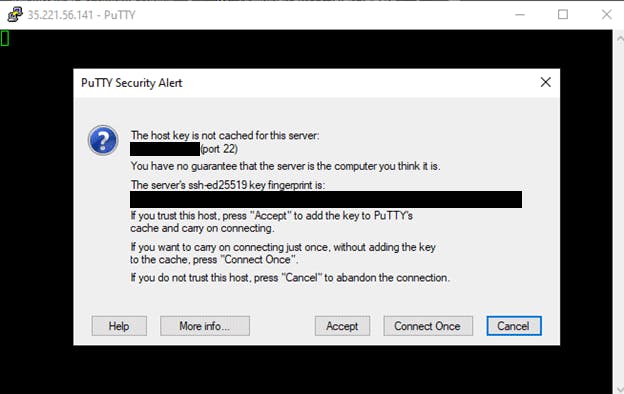
Now press Open and you should get a new window.

This new window will alert you of the fingerprint that is being handshook with the server. Go ahead and accept if you agree to this.
TADA! You are now in the virtual machine outside of Google Shell in Browser. Fancy! You can close all of the Google webpages if you wish
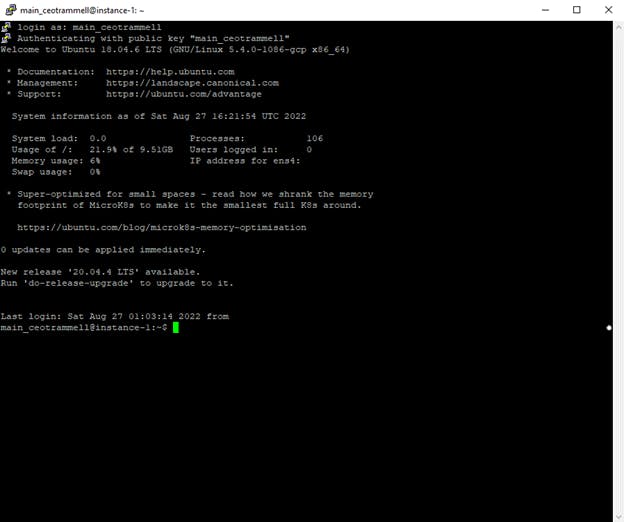
To properly close connection, you can type exit and press enter or exit your terminal.
Congrats! You are a Google Cloud Compute Engine wizard! 🤘