

Azure VM: Linux & Ubuntu setup


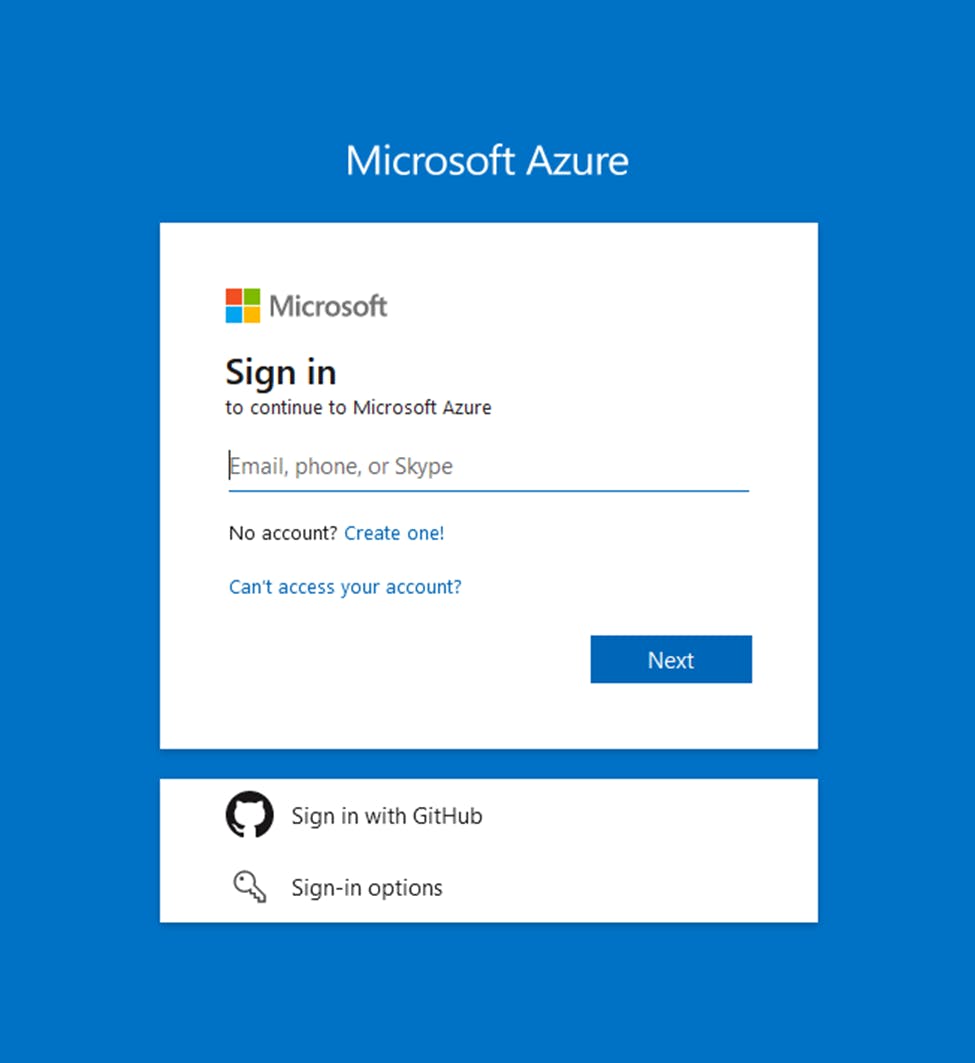
First head over to:
https://portal.azure.com/
Want another method?
Already have an account? Skip ahead!
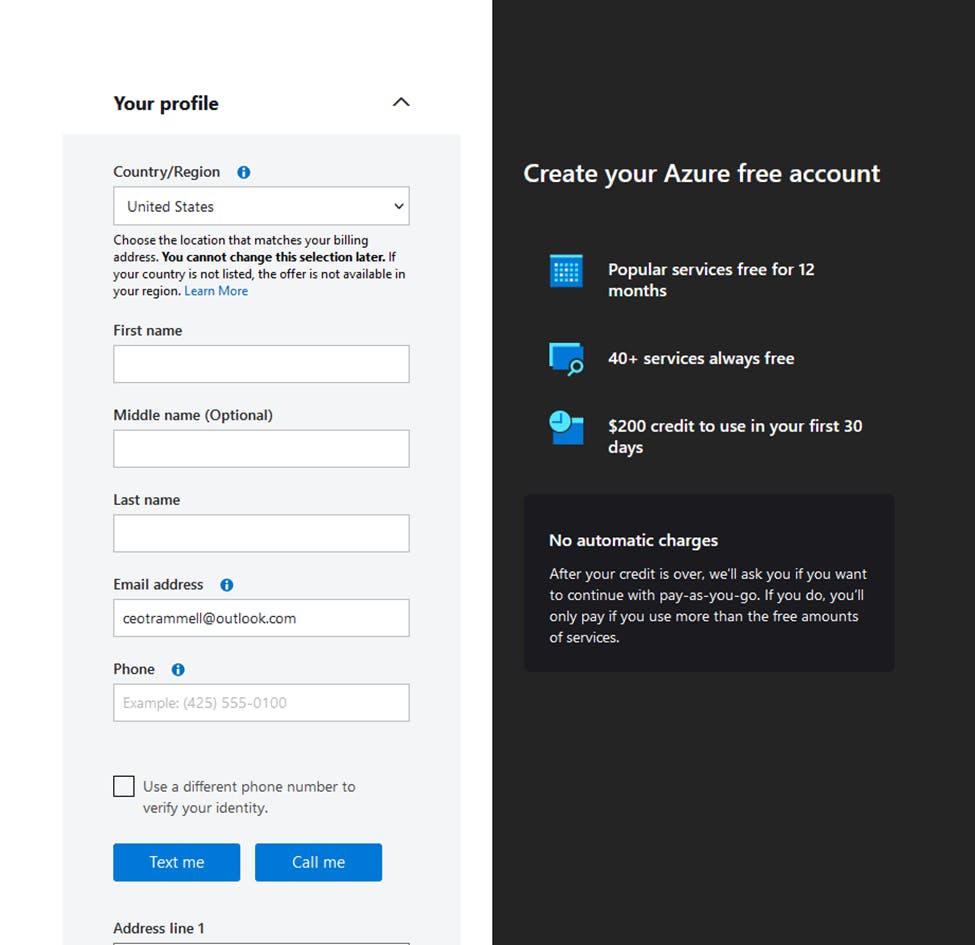
Type in your personal email or create a new one through outlook. Then enter your birthday information
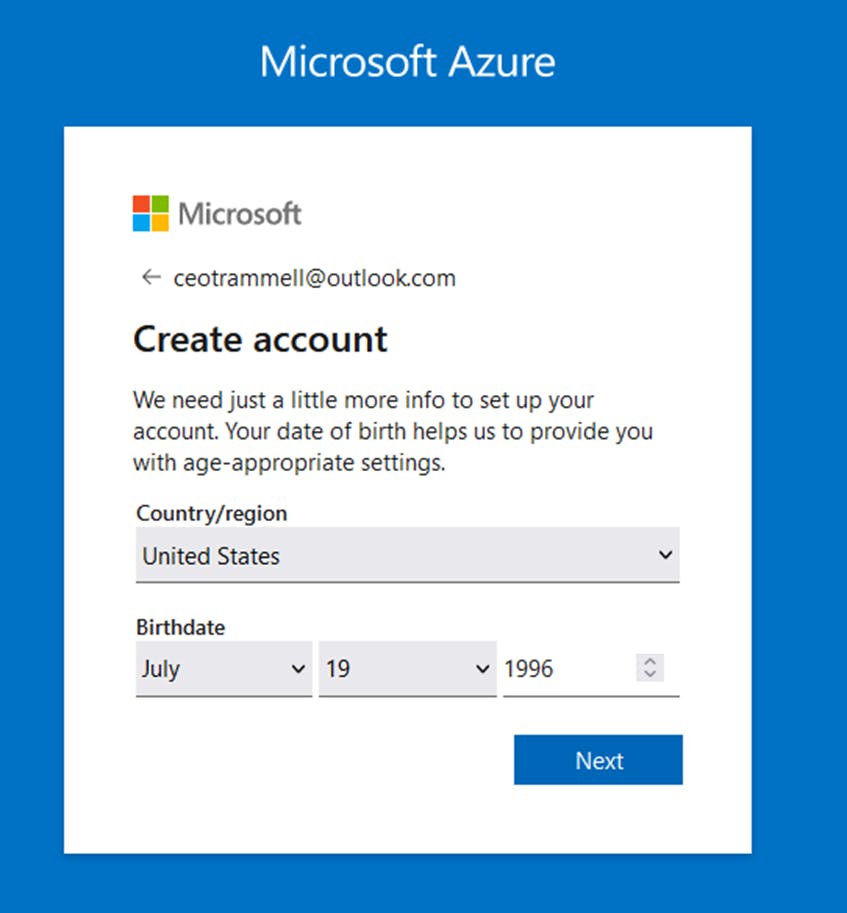
After this, press next to prove that you are not a robot if it requests it.
You should then be redirected to azure portal, which will always be the same link as before:
https://portal.azure.com/
We are going to start by creating a fresh resource, in this case select Virtual Machine. If you do not see it, select Create a Resource and look for it. Then press create under Virtual Machine.
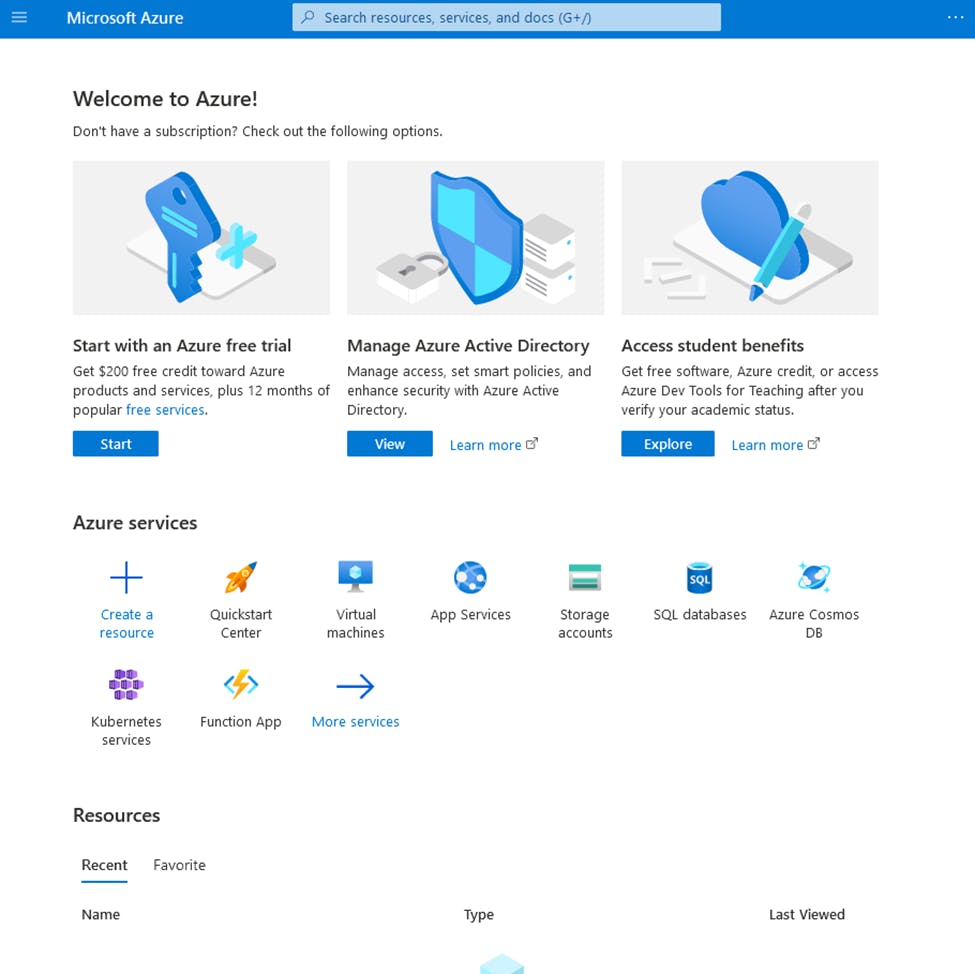
You will get the above 3 options:
- Start with an Azure free trial
- Manage Azure Active Directory
Access student benefits
If you have a .edu email, I highly recommend taking advantage of verifying your academic status, assuming you are doing strictly learning use cases. We are going to continue via the Start with an Azure free trial route in this example.
On the next page, select start free. After that page routes, you will see a page to tie in billing information. This is assuming you go past your 200 USD free credit within the first 30 days. They do state that they will automatically ask you if you want charges to continue after the credits and free trial. That being said, do keep track of this setup if you plan to cancel your subscription as I am not held accountable if you are charged after these free credits. Please be responsible.

Click here to continue with free credits setup
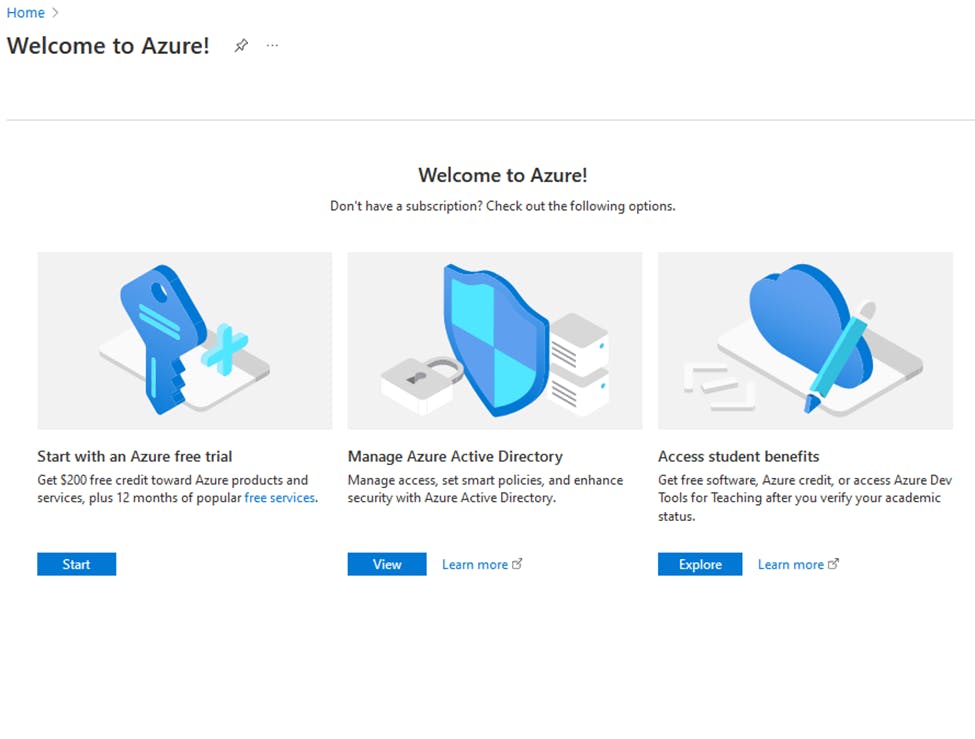
Stay here if you are lost and refreshed the page after everything and keep getting the same Welcome to Azure screenshot above.
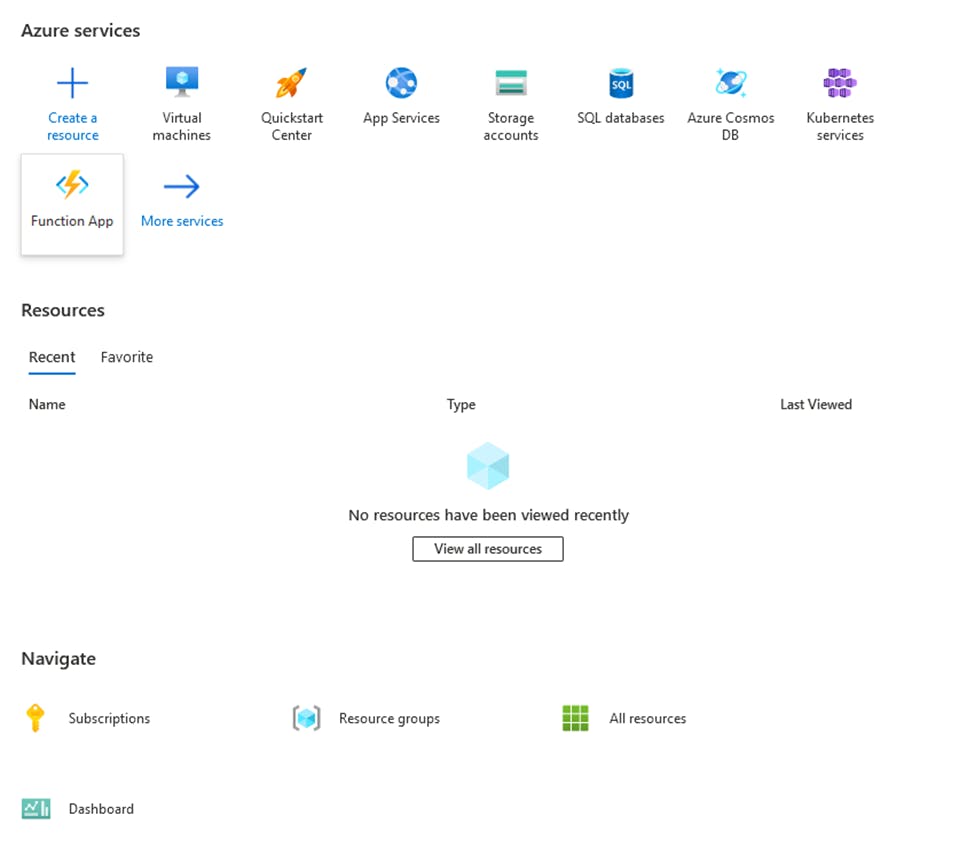
If you get lost during the payment setup process and are using free credits, if you end up navigation back to the portal, you will see the Welcome to Azure page for a bit until it notices that you have payment attached. Just wait a few minutes and refresh. Then you should eventually see the below screenshot so you can setup. Select virtual machine and click the plus sign to create a new azure virtual machine resource:
Click here to skip the free credits setup
Continued with free credits:
Once done, you will be prompted with a get started quickly page, you can ignore this and select Go to Azure portal.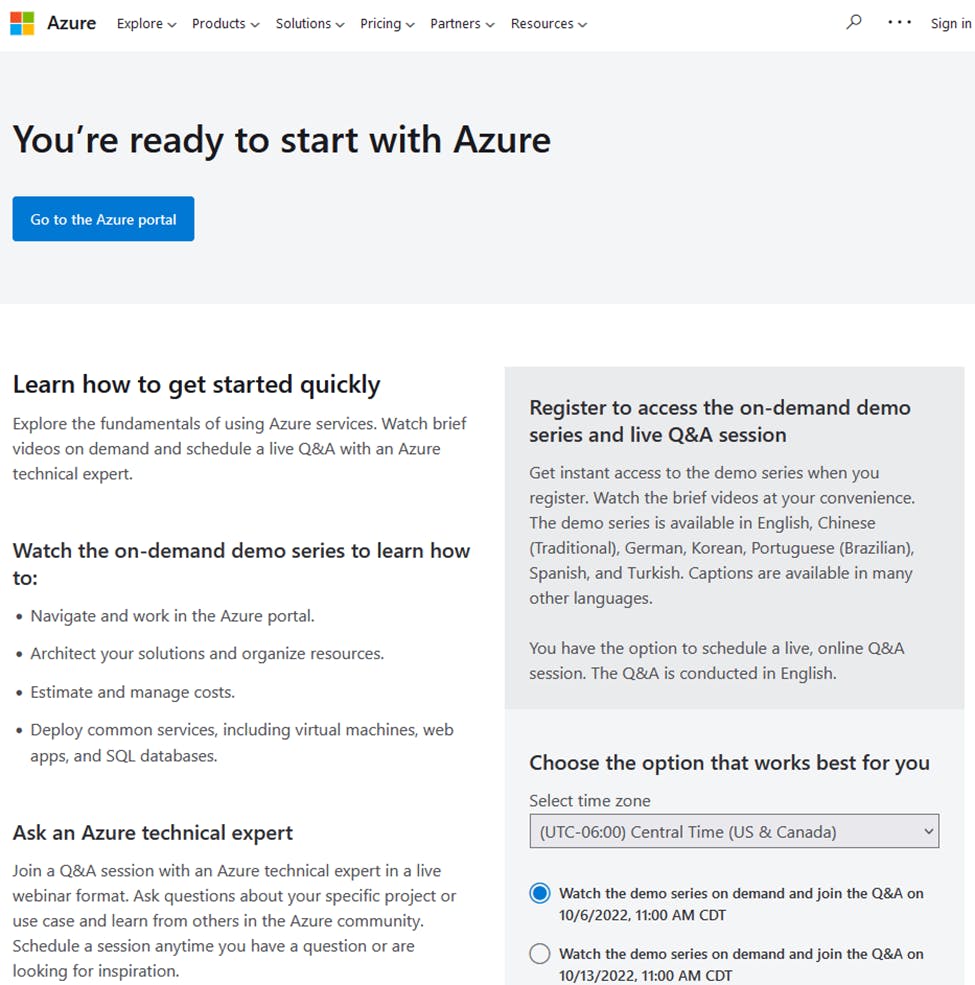
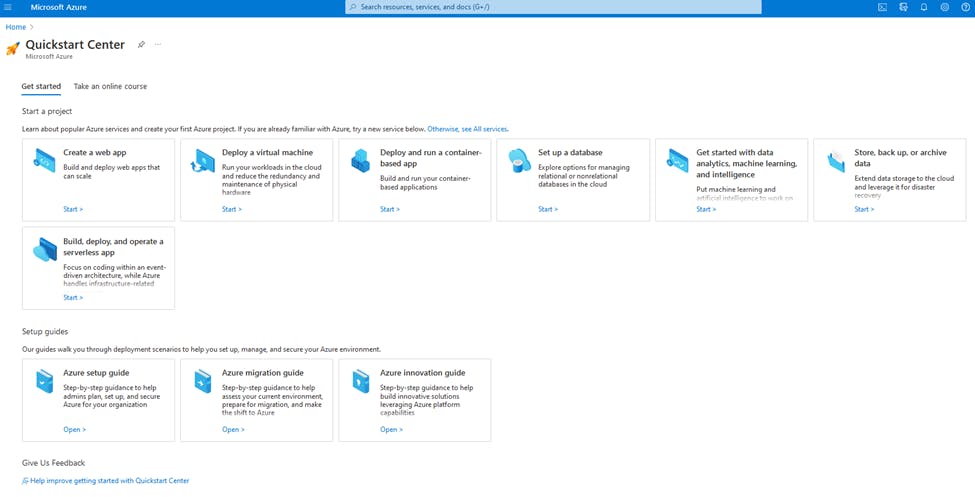
We will now select Deploy a virtual machine
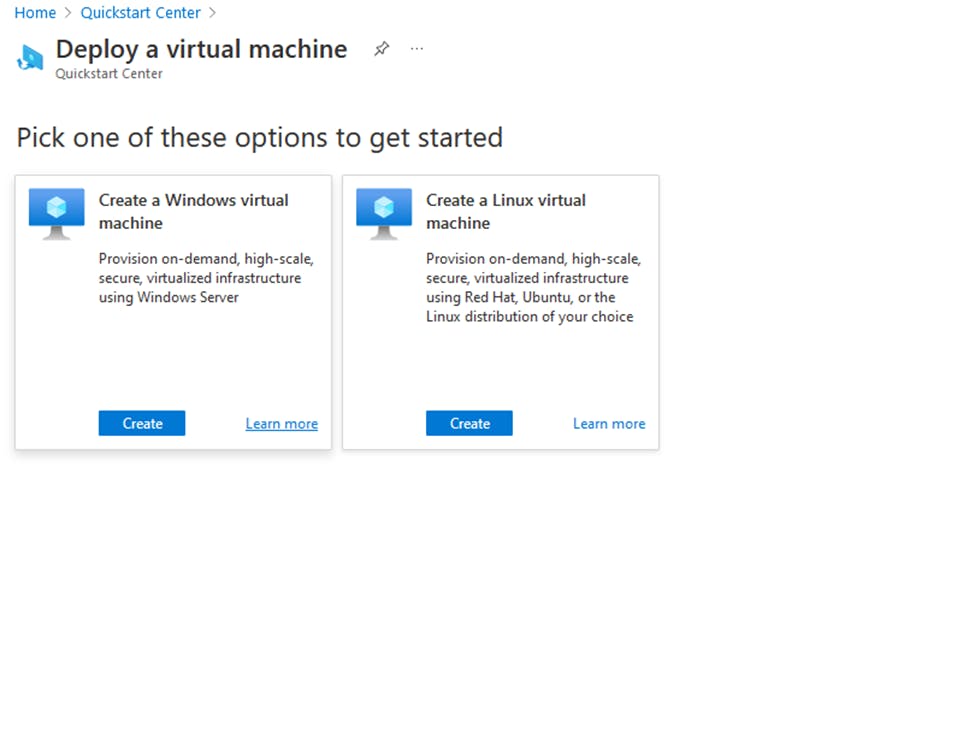
Most of the default options in the image will be good to use. Ubuntu 18.04 LTS is what we will use for this setup. You can title your VM name whatever you like.
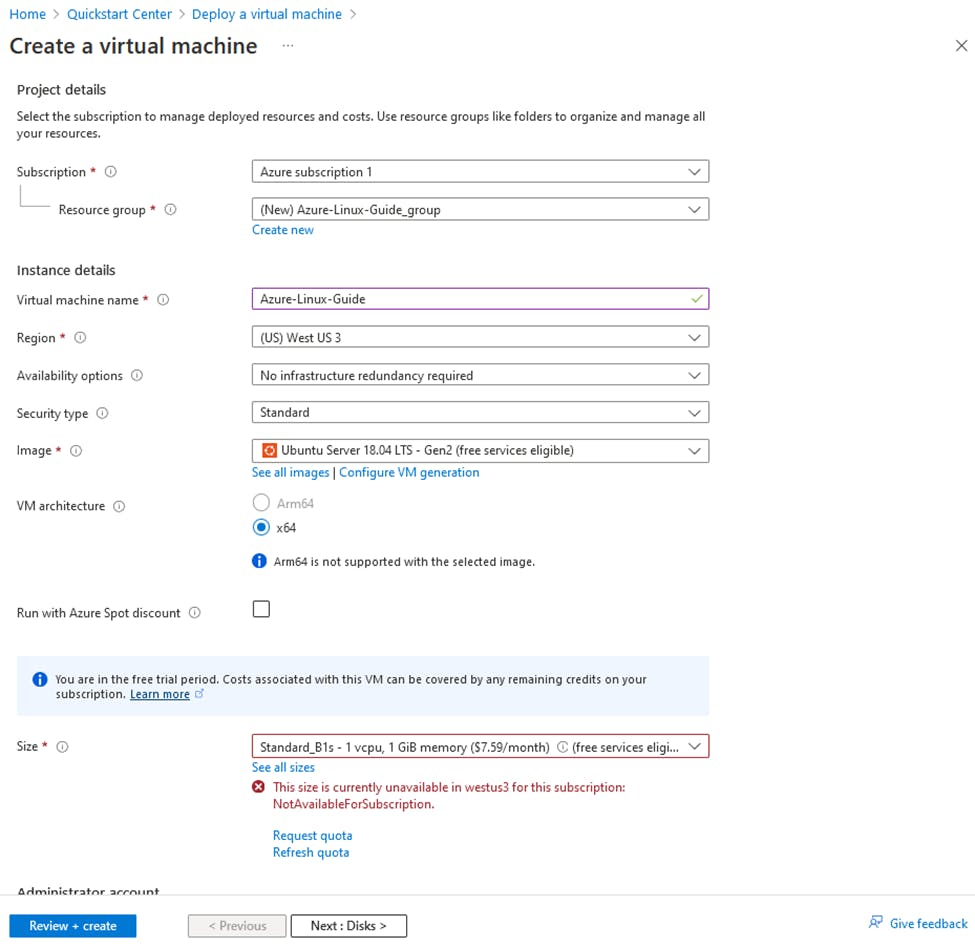
You might need to fix your size, as you can see in my image, I have an error for West US 3. Select See all sizes
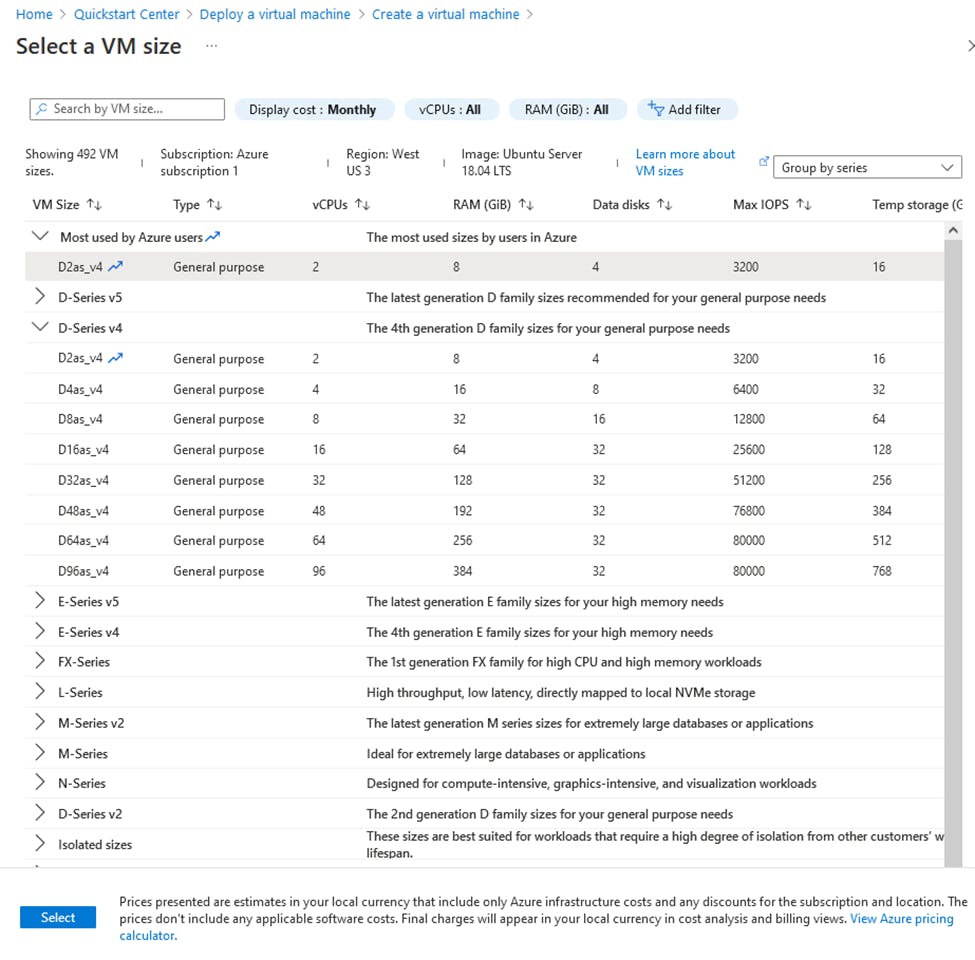
Select D2as_v4 (these options can change at times, if you are just testing and using a trial, this seems to be the cheapest route this way). If you are using this indefinitely, this is a fair starting point, and you can upgrade later.
Back at the Create a VM screen, type in an azure username and key pair name. Or if you would like to, use the Password option. I am going to stick with the SSH public key. Make sure you keep track of these.
For inbound ports, select:
- HTTP
- HTTPS
- SSH
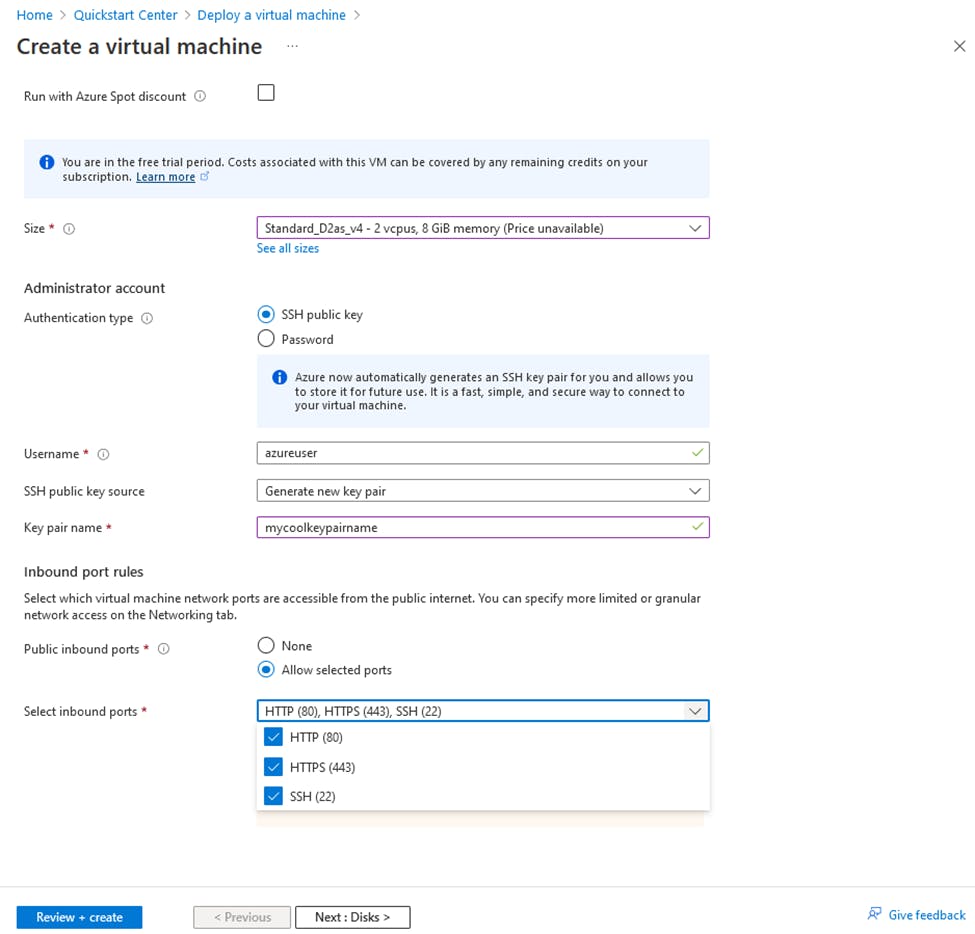
Finally select Review+Create if you agree to everything. Then press Create if validation is passed. If not, double check your settings.

Download private key and create resource if you selected SSH method.
You should get a .pem file downloaded. Keep it safe forever.
But not just anywhere, you must save it in your root home directory or else um, it will tell you to fly a kite, not fun.
Go ahead and move the .pem file into:
- Windows:
%HOMEDRIVE%%HOMEPATH%\.ssh - Mac: should be in
/Users/<username>/.ssh - Linux: Same as Mac, if not found just run
mkdir ~/.ssh/
(pem is a certificate that stands for Privacy Enhanced Mail). No, I do not know why it is still used for these methods when it was created in 1985 but it works with SSH, and it is what it is.
When that is done you will see Your deployment is complete. Select Go to resource.

Here you can do all kinds of awesome stuff for just your Virtual machine! This can also be accessed under your resources from the azure portal home page.
Go ahead and save your public ip/ipv4 address or copy it because you will need it next.
Now open a new command prompt (cmd) on windows or terminal/shell on Mac/Linux.
Type:
ssh -i <private key path> your_username@your_ip_address
avoid using spaces in path names, use underscore _ if needed
example path where my key was:
C:/Users/Admin/.ssh/mycoolkeypairname.pem
If it prompts for fingerprint authentication, this is to authenticate the key. If you agree to this, type yes and then press enter again. This will add your host to allow connections. Then it should look like this:
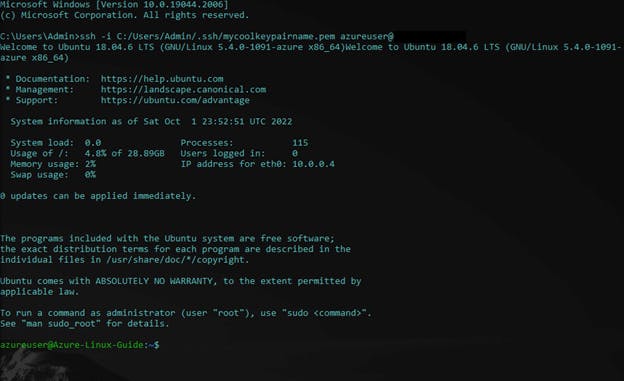
You have now successfully setup a virtual machine using Linux in Azure, congrats wizard! 🤘